Client Phone Provisioning Steps
Please follow the steps applicable to your organisation below once you have received confirmation you can plug the phone in from the Private Universe Helpdesk.
If you are unsure about what kind of provisioning method your network supports, please contact your IT team. Private Universe can also provide general advice in some circumstances.
DHCP Option 66 Enabled
Follow these steps if your network has DHCP option 66 configured with the PBX Blue provisioning URL.
-
Plug in your phone using the Internet port and power it on.

-
Your phone will be configured automatically and be usable in a few minutes.
SBC Without DHCP Option 66
Follow these steps if there is a 3CX SBC set up on your network and you do not have DHCP option 66 configured.
-
Plug in your phone using the Internet port and power it on.
-
Email the Private Universe Helpdesk so we know that the phone has been plugged in.
-
Private Universe will configure the phone and advise once the phone is ready to use.
No DHCP Option 66 nor SBC
Follow these steps if there is not a 3CX SBC on your network nor is DHCP option 66 configured.
-
Plug in your phone using the Internet port and power it on.
-
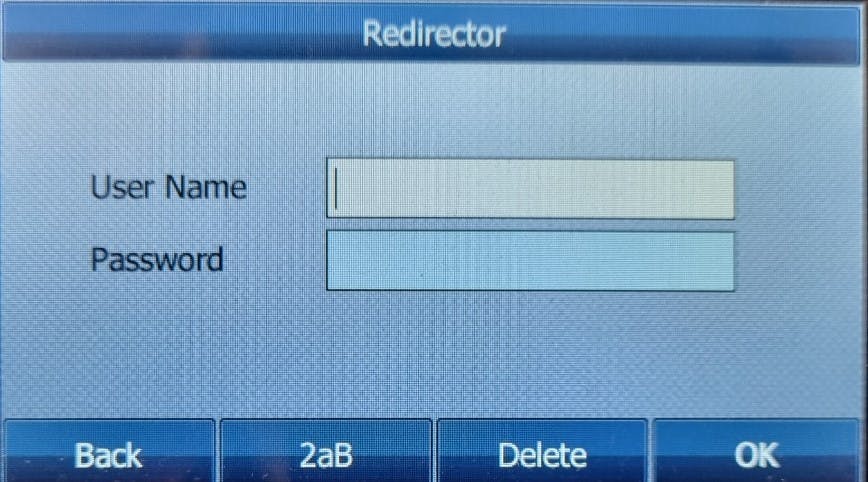
Once the phone has booted up, you’ll be greeted with a “Redirector” login screen. Using the details found in your PBX Blue Welcome Email, enter your Username (which will be your extension number) and password (which will be your voicemail PIN) then press OK.
-
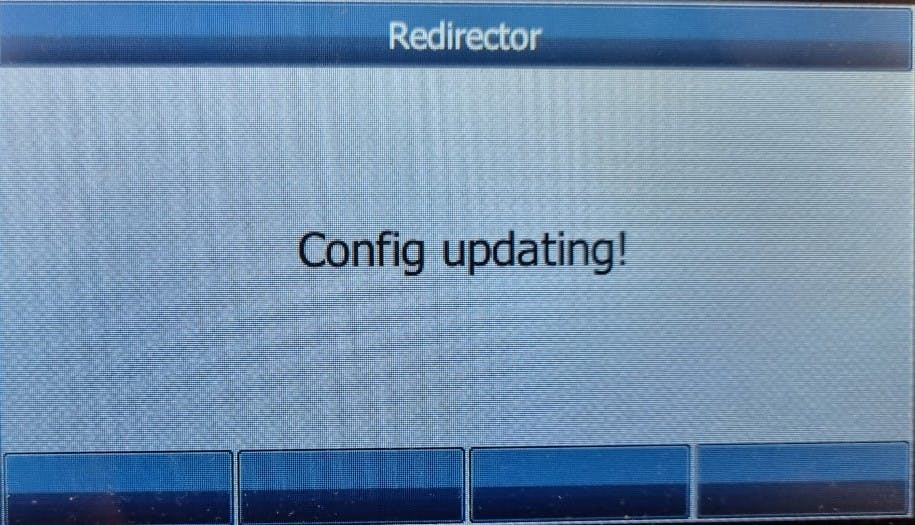
Wait for the phone to finish setting up. You’ll see a screen reading “Config updating!”.
-
The phone may reboot several times and you’ll see a “Welcome” screen. Keep waiting for the phone to finish rebooting.

-
Once the phone has finished booting up, it will be ready to use.